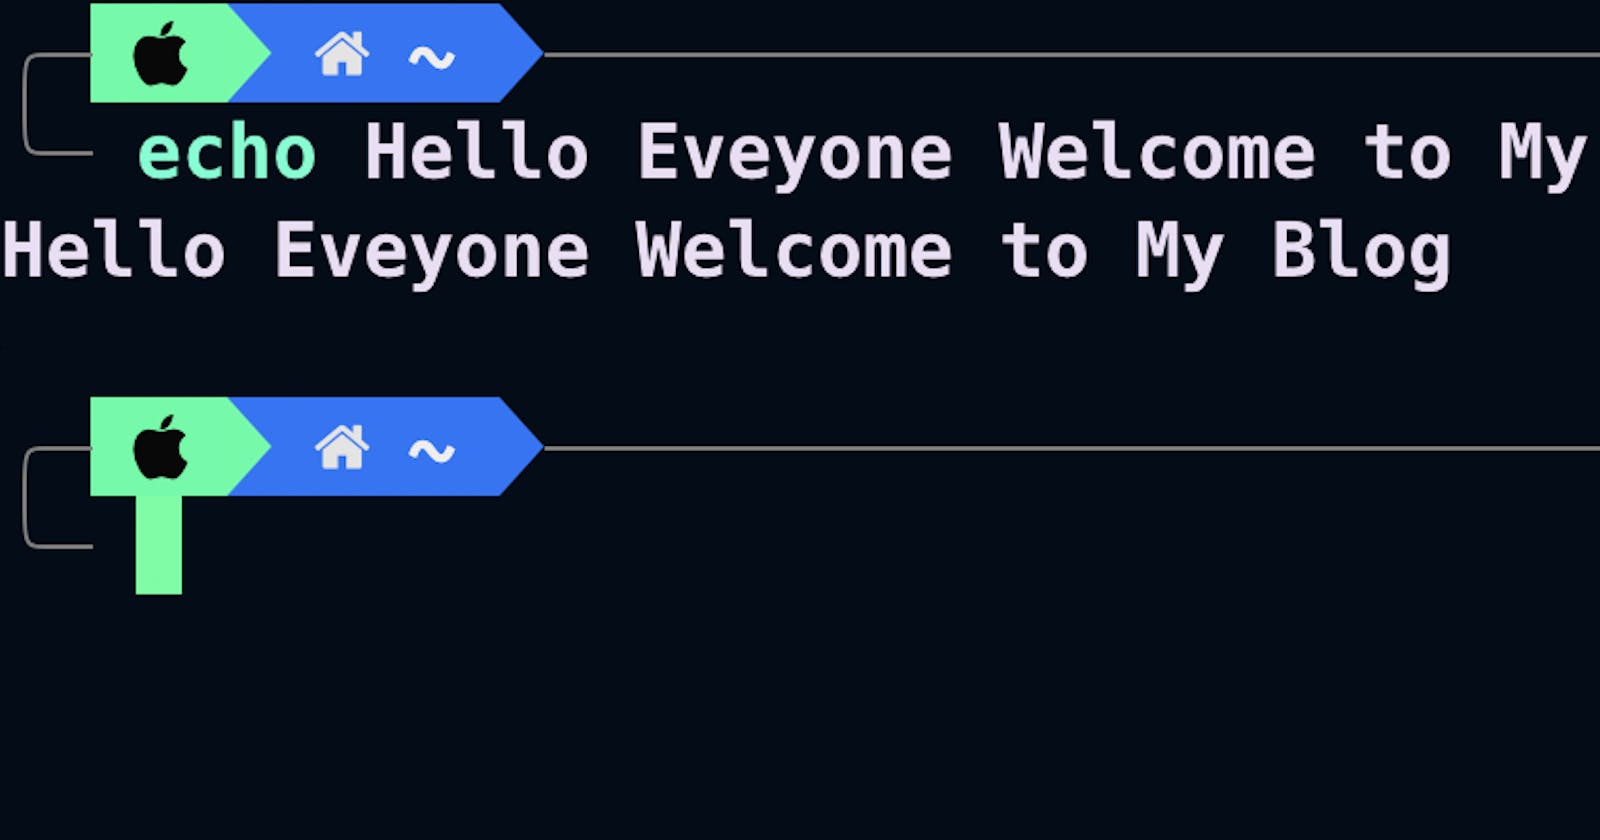
Welcome to a world where the mundane and monotonous are left behind, and your Mac Terminal becomes an extraordinary playground of creativity and efficiency! Are you tired of staring at a dull and lifeless command line interface? It's time to break free from the ordinary and embark on a journey to revolutionize your Mac Terminal experience. In this blog, we will uncover the secrets to transform your terminal from ordinary to extraordinary, unleashing a vibrant and personalized environment that not only enhances your productivity but also adds a touch of excitement to your coding and administrative tasks. So fasten your seatbelt, embrace the power of emojis, and prepare to dive into the realm of endless possibilities!
Let's get started:
Install Homebrew
Install Homebrew, the ultimate package manager for macOS, to unlock a vast collection of software and utilities that will elevate your terminal experience.
/bin/bash -c "$(curl -fsSL https://raw.githubusercontent.com/Homebrew/install/HEAD/install.sh)"
Add Homebew To Path
After installing, add it to the path (replace ”[username]” with your actual username):
echo 'eval "$(/opt/homebrew/bin/brew shellenv)"' >> /Users/[username]/.zprofile
eval "$(/opt/homebrew/bin/brew shellenv)"
Install iTerm2
To install iTerm2, Run the following commands:
brew install --cask iterm2
Now, For the rest of the tutorial stick to iTerm2.
Install Git
In case, You don't have git installed, install it with the help of the following command:
brew install git
Install Oh My Zsh
To install Oh My Zsh run the following command:
sh -c "$(curl -fsSL https://raw.githubusercontent.com/ohmyzsh/ohmyzsh/master/tools/install.sh)"
Install PowerLevel10K Theme for Oh My Zsh
Run the following to install PowerLevel10K Theme(You can choose any other theme as well):
git clone https://github.com/romkatv/powerlevel10k.git $ZSH_CUSTOM/themes/powerlevel10k
Now that it’s installed, open the ~/.zshrc file with your preferred editor and change the value of “ZSH_THEME” as shown below:
ZSH_THEME="powerlevel10k/powerlevel10k"
To reflect this change on your terminal, restart it or run the following command:
source ~/.zshrc
Configure PowerLevel10K
Restart iTerm2. You should now be seeing the PowerLevel10K configuration process. If you don’t, run the following:
p10k configure
This will give you many options for each functionality choose whatever you like and customize your terminal as you like.
Install ZSH Plugins
To enable auto-suggestions run the following command:
git clone https://github.com/zsh-users/zsh-autosuggestions ${ZSH_CUSTOM:-~/.oh-my-zsh/custom}/plugins/zsh-autosuggestions
To enable syntax highlighting run the following command:
git clone https://github.com/zsh-users/zsh-syntax-highlighting.git ${ZSH_CUSTOM:-~/.oh-my-zsh/custom}/plugins/zsh-syntax-highlighting
Open the ~/.zshrc file in your desired editor and modify the plugin line to what you see below.
plugins=(git zsh-autosuggestions zsh-syntax-highlighting web-search)
Load these new plugins by running:
source ~/.zshrc
